I find an image like this stock photo from https://www.pinterest.com/pin/126523070775870130/


Next, I usually start by building the "face" of the piece. This is really a sculpting process. It's okay to have "seams" because they will blend when I roll down the clay. This face is about 2 inches high and 3 inches wide. After I have the face, I add the other parts of the shape and begin to integrate the background colors.


After the sculpting part is done, the clay is gently pressed and stretched into a "log" or "cane." From there the beads are cut.


Bake for 30 minutes at 260º in the oven on a piece of sturdy cardboard.

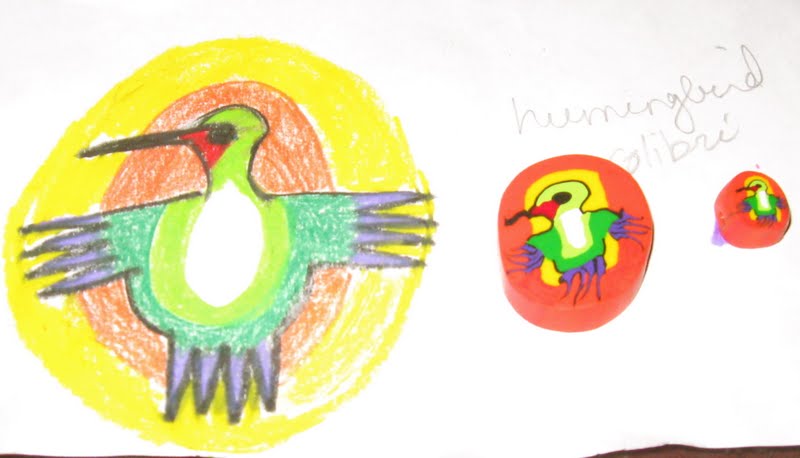
Here are other finished clay beads next to the initial design.